Showing posts with label Sally Hansen. Show all posts

Friday, June 26, 2015

The Lacquer Ring Presents: One Stroke Flowers

Purchased By Shelby Lou

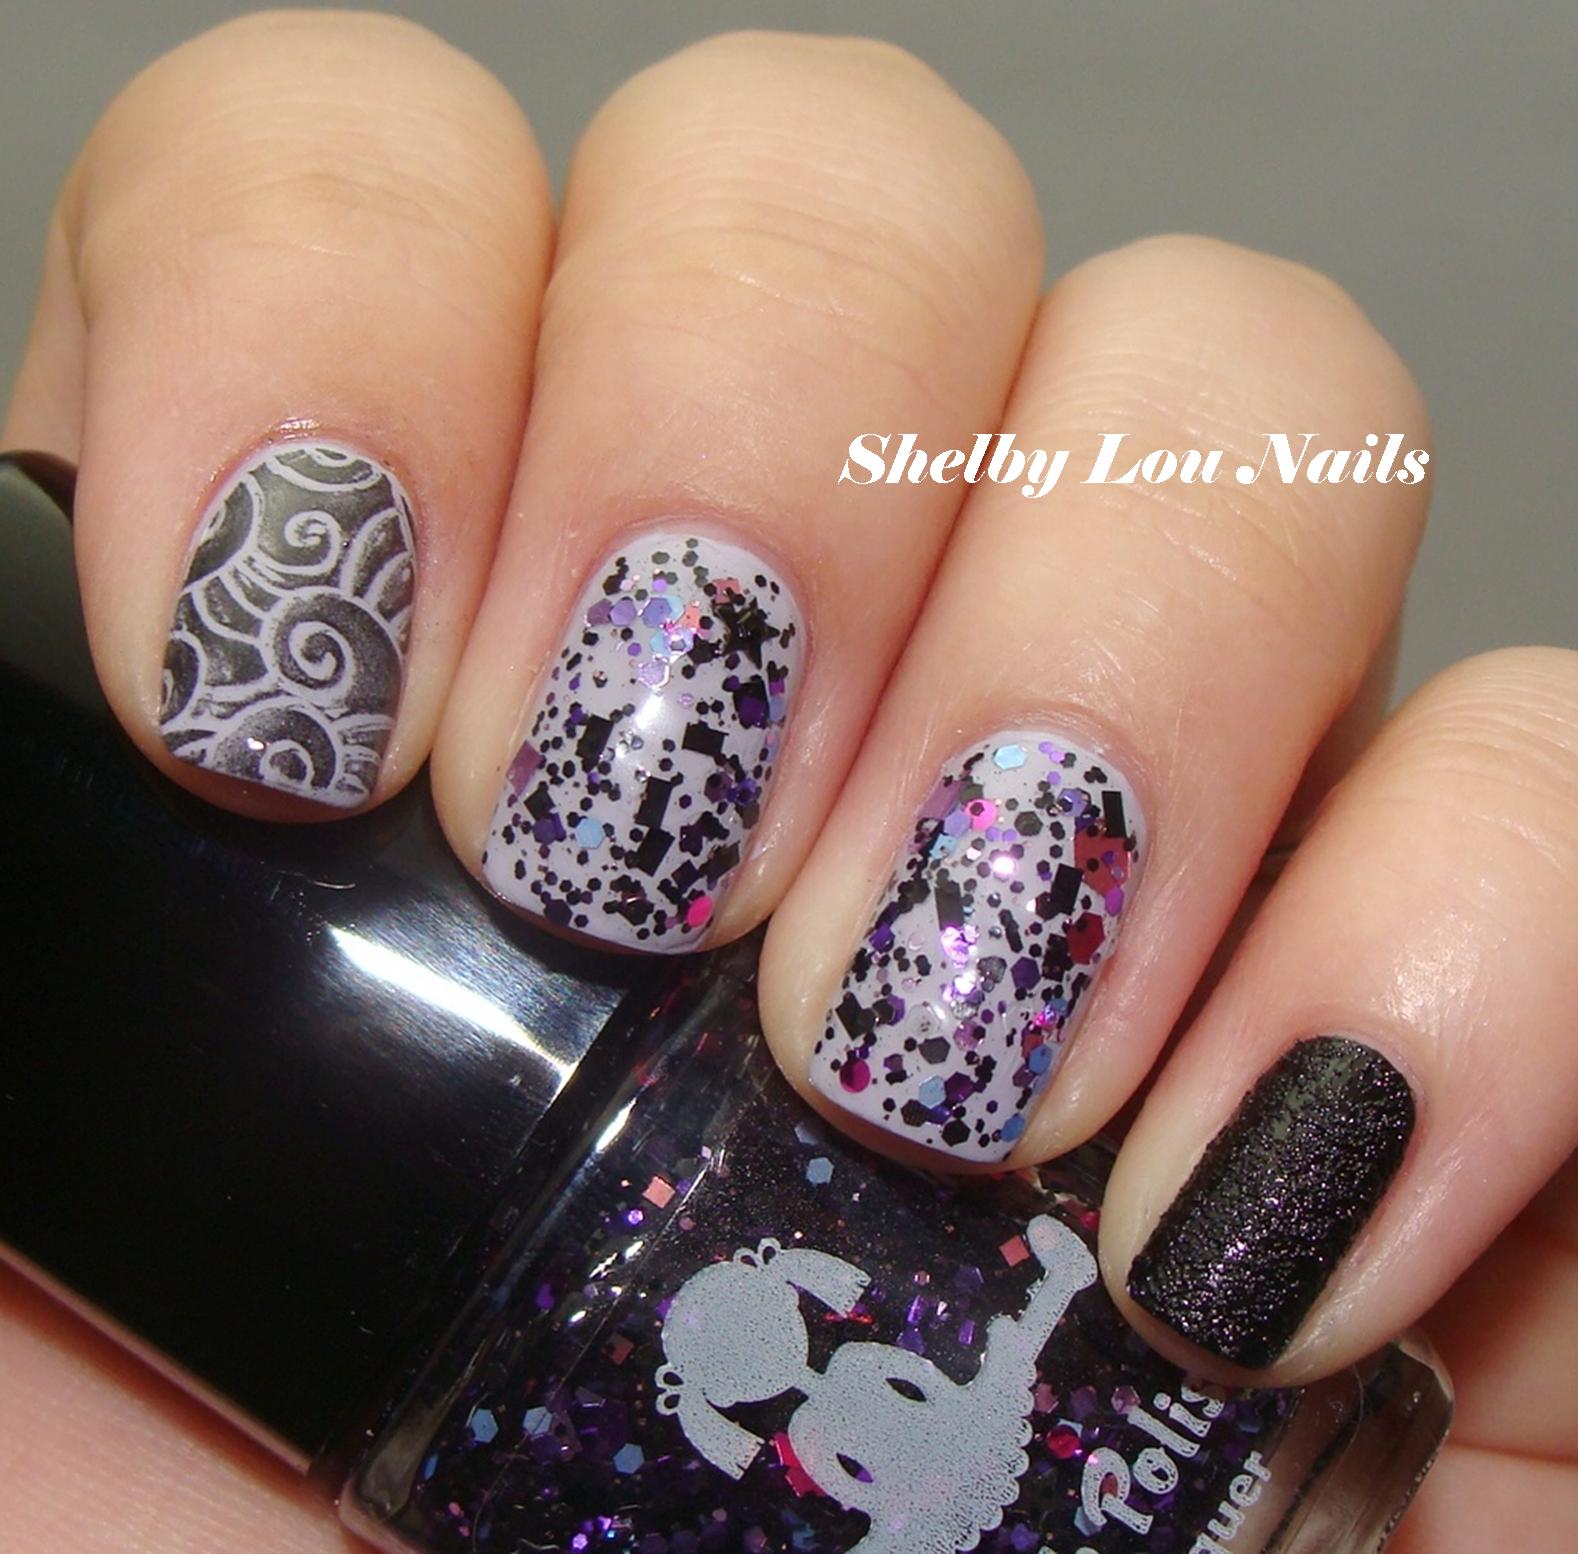
I'm a late sharing this post for The Lacquer Ring today. I've been super-sick with the flu all week. This is the second time this year, stupid germy hospital. When I went back to work I wore a mask whenever I talked to patient's and families to keep the germs to myself, which is hot and annoying haha. Hubby is sick now though, he went to the doctor yesterday and had a fever of 102 along with bronchitis. Sorry!

This week's prompt for The Lacquer Ring is One Stroke Flowers. Not gonna lie, I've been dreading the prompt and planned on having at least a few days to practice and try out this new-to-me technique. Without time on my side though, I spent one evening messing around and just went for it. My base polish is Pahlish Imprinted Upon Your Stars, a group custom for Pahlish Lovers. I wore this for a few days by itself and I'm in love. It is such a gorgeous shade of periwinkle with holo and other shimmahs!
Shelby Lou Nails with The Lacquer Ring
One-Stroke Flowers
Pahlish Imprinted Upon Your Stars
Acrylic Paint, Sally Hansen I Heart Nail Art Pen in Black
without flash

For my flowers I started by watching some tutorials online. The ones I found the most helpful were from Lucy's Stash--her artwork is gorgeous! I used acrylic paint in pink and off-white for my flowers. I didn't have any of the correct kinds of brushes around unfortunately, so I ended up using a clean-up brush one that was too skinny to really give this a proper go. So I did my flowers (please don't try to image that process, ugh). I used the end of the brush to dot the centers of the flowers in pink and topcoated. Then I used a Sally Hansen I Heart Nail Art pen in black to outline everything and add a few more dots, then did one final coat of topcoat.

Shelby Lou Nails with The Lacquer Ring
One-Stroke Flowers
Pahlish Imprinted Upon Your Stars
Acrylic Paint, Sally Hansen I Heart Nail Art Pen in Black
with flash

So, not the best, but not too bad for a first attempt! I'm glad I still made myself do this even though it's late. It's important to keep challenging myself at this nail art thing. Anyone else tried these flowers? Not sure I'm going to do these again. They do make me want to try The Lacquerologist's color splash floral nails though! I'm much better at bold, graphic designs.

Have you loved your cuticles today?


Sunday, March 29, 2015

Jindie-Dollish Collaboration: Batman & The Joker Duo

Press Sample 

I first need to apologize for being a bad blogger. I promised Jindie (& Dollish) I'd swatch this amazing duo and I didn't get it done in time for the release. Doesn't Life know that blogging is very important?? But! As of this posting there are still duos left so go go go!

In case you haven't heard of this duo, here is the good stuff--swatches!

Shelby Lou Nails
Dollish Polish
"Why So Serious?"
Batman & The Joker Collaboration with Jindie Nails

Dollish Polish mixed The Joker half of this duo called "Why So Serious?" I never saw the movie because I'm not really into superhero movies (gasp!) but I am into this polish. Why So Serious? is described as "A vibrant purple crelly, jam-packed with micro glitter of varying shades, including holographic lime, burnt orange, indigo, blue, black, holographic purple, iridescent blue, plus sprinkled in are olive, orange, and indigo flakes."

For my swatch I used a base of China Glaze Grape Pop with two easy coats of Why So Serious. I turned my bottle upside down before swatching to get the good stuff that had settled a little. The charms are from Daily Charme. I am surprised by how much I like this! It is such a fun color, and I will totally be wearing this on Halloween.

Shelby Lou Nails
Jindie Nails
"Ever Dance with the Devil in the Pale Moonlight?"
Batman & The Joker Collaboration with Dollish Polish
Jindie Nails designed the Batman half of the duo called "Ever Dance with the Devil in the Pale Moonlight?" I can't even with this polish! The shimmer is insane. Jindie describes this stunner as "A light, moon gray jelly packed with classic-light gold and silver flakies, banana yellow squares and small hex, black triangles and small hex, classic and light gold small hex, ultra fine and fine black and yellow matte hex, black small and medium dots, gunmetal small hex and flakies."

For "Moonlight" I started with a base on all fingers of KBShimmer How You Dune? I then did two thin coats mostly of the base and smaller elements of the polish, followed up with some fishing and dabbing of the bigger glitters which were easy to grab. For the accent nail I made a decal using MoYou London Fashionista 04. I stamped with Rica Blackout, painted in the chevrons with Sally Hansen Insta-dri Lightening with a teeny detail brush, then topcoated it and peeled it up when dry. It's my first successful decal! I think it is the perfect accent to this beautiful polish, which I can't wait to wear again.

This duo is very limited and close to sold out, you can follow the links below to grab your set from your preferred indie gal!

Products: 
Jindie Nails
Dollish Polish

Have you loved your cuticles today?

Saturday, February 7, 2015

Stamping Saturdays: Faded Hearts

Purchased By Shelby Lou
Press Sample (Zoya Only)

Oh man, I am really battling some seasonal depression here, guys. This week we got another ridiculous amount of snow that has been plowed into piles so high you can't see cars coming to pull out of the driveway. It has been so cold that it's even cold inside, not to mention the long and cold dreary days. I don't mind up to 6 inches of snow, just enough to cover grass and make a sparkling winter wonderland... this is a frozen wasteland and I am so done with it. I can't even make myself go grocery shopping because that would involve slogging through so much snow. There is just no where else to put it and every single parking lot is a mess. I slept most of today on the couch and binge-watched Big Love. Maybe all this blah inspired this not-so Valentine's mani haha!

Shelby Lou Nails
Faded Hearts - Without Flash
I was just not feeling inspired by all of my pinks so I went for a new, glorious pale blue I recently bought from Polish My Life called Cloud Blue. I've see lots of beautiful swatches of Polish My Life but bought just a few pastel cremes to see what all the fuss was about. Let me just say I've decided I need to buy ALL the Polish My Life cremes at this point!

Shelby Lou Nails
Faded Hearts - Without Flash

Shelby Lou Nails
Faded Hearts - Without Flash
Since I have become more confident in stamping I wanted to layer some images. First I used a diagonal stripe image from MoYou London Pro-XL 01 and Sally Hansen Insta-Dri in OMGhost. Over that I stamped the hearts from Vivid Lacquer 009 in Zoya Geneviev.

Shelby Lou Nails
Faded Hearts - With Flash

Shelby Lou Nails
Faded Hearts - With Flash
I love the soft and faded look of this mani. I am not totally happy with my heart image placement, but alas I guess that's all these nubbins could take. What do you think? Anyone else suffering from the doldrums of winter?

Shelby Lou Nails
"Faded Hearts"

Have you loved your cuticles today?

Thursday, April 10, 2014

Girly Bits Perry-twinkle & Messy Mansion Scales

Ok, I am getting back on track with blogging. Promise. Ha! Everything seems to be going so friggity-friggin' crazy for me right now so hopefully that stops soon. Also, I can't stop saying frggity-friggin'. Try it, I bet you'll like it ;-)
If you haven't already make sure you enter the giveaway I am hosting with six amazing bloggers. Seriously, I love these girls! You can get the rafflecopter link to the Spring Spectacular Giveaway here.

Today I have Girly Bits Perry-twinkle. I fell in love with Girly Bits from the March A Box, Indied and was so excited to see they had another one coming in the April edition. Perry-twinkle is a periwinkle holographic polish with pink shimmer. I can't have my holos without the colored shimmer now. The formula is perfect, I used three thin coats for my swatch.

Girly Bits
Perry-twinkle
A Box, Indied Exclusive

I took the photo of the swatch after I had worn it for a day at work. I've been wearing this since Sunday night and I still have no chips, so decided to refresh Perry-twinkle because it was too beautiful to take off. I used Messy Mansion MM21 and Sally Hansen Insta-dri in Silver Sweep. And, because why only go halfway when you can go all the way, then I added INM Northern Lights.

Girly Bits Perry-twinkle
Stamped with Messy Mansion MM21 & Sally Hansen Silver Sweep
Topcoated with INM Northern Lights

Remember The Rainbow Fish? I feel like I have magical fishy nails!

Girly Bits Perry-twinkle
Stamped with Messy Mansion MM21 & Sally Hansen Silver Sweep
Topcoated with INM Northern Lights

Products:
Girly Bits
Messy Mansion
Llarowe

Have you loved your cuticles today?

Thursday, January 30, 2014

Wintry Brocade with Colors By Llarowe & Messy Mansion

I love me some stamping. And now that I have the basics down I feel like I learn exponentially every time I sit down to stamp. I have been dying to try the brocade design on my new-ish Messy Mansion plate MM18, but it seems like every time I just failed miserably and gave up. But not this time! These might be "duh" things to some of you, but I'm serious it was an epiphany to me. 

First lets check out the nails. My base is Colors by Llarowe Coal In My Stocking, a dark gray crelly with silver glitter. I should have took a swatch photo, sorry.... it's amazing though and I got a few compliments at work! For the stamping I used Messy Mansion MM18 and Sally Hansen Ista-Dri in Silver Sweep

Wintry Brocade Nails
Colors By Llarowe Coal In My Stocking
Messy Mansion MM18
Sally Hansen Insta-Dri in Silver Sweep
I used two big squishy stampers for this design, this one from LeaLac and this one from Vivid Lacquer. I used the Vivid Lacquer stamper on all of my nails except my thumb, which is huge so I used the XL LeaLac one for that. After fiddling around for an hour I realized the following:

  1. Forget those plastic and metal scrapers, use an old gift card.
  2. Pick up the image by pushing the stamp straight down onto the image. Same for when putting the image on your nail.
  3. My nails are very curved, so using the big squishy stampers were better for me. My favorite sweater nails I noticed were a little warped and not straight lines because I was previously rolling the image onto my nails with a less squishy stamper.
  4. I stamped my right hand first to get into a groove. Move on to stamp my left hand... failed 7 times in a row trying to pick up the stamp. WTF. I took a five minute break and capped my stamping polish. When I tried again I picked it up on the first try. I think my stamping polish was getting a little dry, I will be capping and shaking between hands from now on.
  5. Breaks are good. 
  6. Practice is a must.
  7. Perfection sucks the fun out of nails. My stamping is not perfect, but it is good enough to be enjoyable!


Wintry Brocade Nails
Colors By Llarowe Coal In My Stocking
Messy Mansion MM18
Sally Hansen Insta-Dri in Silver Sweep
I hope this encourages any of you who have been thinking of stamping, or of quitting haha. It is so rewarding and worth it! What is one of your favorite stamping tips or tricks?

Selected Products:
Messy Mansion
Llarowe... new website in process!

Have you loved your cuticles today?

Saturday, January 18, 2014

Dollish Polish Poor Unfortunate Souls Skittle

I haven't been able to wear as many skittles as I used to since I changed jobs. I have found I don't need strictly traditional work-appropriate polish, but I think the skittle mani might concern patients haha! Here is one I did for a weekend. Poor Unfortunate Souls is one of those polishes I HAD to have, which is hilarious because it took me forever to finally wear it.


Pinky: China Glaze Bump In The Night
Ring & Middle (& Thumb, not shown): Sally Hansen Complete Salon Manicure I Lilac You, Dollish Polish Poor Unfortunate Souls
Index: Sally Hansen Complete Salon Manicure I Lilac You, stamped with Nailz Craze NC02 & Mentality Scoundrel


Remember how to put together a skittle mani? Pick your undies (I Lilac You) for your glitter (Poor Unfortunate Souls), use a neutral from the glitter for pinky accent (black), then stamp the neutral on the index (black swirls). Show me your skittles on my facebook page!

Selected Products:
Dollish Polish
Nailz Craze

Have you loved your cuticles today?

Wednesday, November 27, 2013

Beautiful Cuticles: My Favorite Products

With my nubbins for nails this week I decided it was finally time for a product post. When I first started looking at blogs I was always envious of all the beautiful cuticles. It must be witchcraft! I thought. Well surely Photoshop... I am proud to say that I do no editing of cuticles on this blog and can tell you it is possible without selling your soul or spending hours fiddling with technology.

I want to talk about a few basics so everyone can get started. First I recommend reading THIS POST by The Lacquerologist for some science basics on nails. The Lacquerologist is a trained nail tech and really knows her stuff while making it understandable for us laymen (or laywomen). Please note, I will continue to use the vernacular terms I know we all understand.

Okay, now that you've read the science, here is the beginning routine!

Step 1: STEP AWAY FROM THE NIPPERS
I'm serious. I put mine away in the bathroom so that I will not sit and clip every little piece of skin I see. It's not healthy and ends up making your cuticles look worse. Only for hangnails, no more! While you're at it, throw away the nail clippers and use a file only to shorten and shape your nails (that will be another post).

Step 2: Cuticle Remover
I do this about once to twice a week. I first tried Sally Hansen's Instant Cuticle Remover and it worked great so I never looked for anything else. It is affordable, available just about anywhere, and it lasts forever (mine is going on a year and still over 1/4 full).


Sally Hansen Instant Cuticle Remover--comes in an orange box!
I do one hand at a time and use an orange stick to gently slough off the remover and dead cuticle, operative word being GENTLE.
Please note: Read the directions as this is a chemical and can be harmful if used improperly. I promise you will be amazed at the difference in your cuticles, however DO NOT be tempted to do it everyday because you will get a chemical-burn-type of thing (and yeah, I know from experience). Trust me, once or twice a week at the most is all that is needed. Especially if you do Steps 3 and 4 religiously.

Step 3: Moisturize
You know from The Lacquerologist's post that the skin around your nails is different from the skin on your hands. In order to best moisturize your cuticles you need special products, not just any old body lotion. Sometimes I can be a real cheapskate, but I have really noticed a difference in my cuticles since I started using specially formulated oils.
Here are the current lotions and potions that I collected from around my house and purse:

Soap & Glory Hand Food, Gold Bond Ultimate Intensive Healing, Sunny's Hand Cream, Avon Moisture Therapy in Intensive and Oatmeal, KBShimmer Lotion
Sunny's Miracle Balm, Glisten & Glow Nail & Cuticle Balm, Badger Balm (not pictured, but is also great--so great my mom stole it from me)


NailNation 3000 Pineapple Cuticle Oil, Butter London Holiday Handbag Cuticle Oil, Glisten & Glow Glis-tics Cuticle Oil, Avon Cuticle Oil Pen, KBShimmer Cuticle Oil Pen, Bliss Kiss Pure Nail Oil Pen, LynBDesigns Bubby & Toot's Cuticle Loot Oil (not pictured--I forgot it I have so many haha, but it smells wonderful!)
Step 4: Repeat Step 3
...several times a day, as needed.

So while I showed you an arsenal of products, these three are my Holy Grails and will likely be my exclusive future purchases now that I know what works best for me:


Sally Hansen Instant Cuticle Remover + Hand Food + Bliss Kiss = Beautiful Cuticles!
I hope this has been informative! With the dry winter upon us in the US, December is an excellent time to make this a resolution. I find the best time to do my routine is Sunday and Thursday evenings while vegging out in front of the TV. I also keep lotion and oil on me at all times so I can moisturize whenever I notice my hands and cuticles look or feel dry. Stick with it and it will become a reflex.
It takes 30 days to make something a habit. Just think... by New Year's you can have beautiful and healthy nails!

Check out the "Beautiful Cuticles" tab on my home page for more information and purchasing info on some of these products! And for the love of humanity... I hope you've moisturized ;-)

Friday, October 25, 2013

Jindie Nails For Fall 2013: Shimmer Me Timbers & Midnight Rainbow


I've finally got some Jindie Nails to show you! This year Jindie came out with five shades for her "Fall Chic" collection and this line also debuted her new 9ml bottles. The new 9ml bottles are amazing! So easy to use and plenty of polish. I had to use a topcoat bottle for the pictures though because I couldn't pose witht he long skinny ones. I've got two of the jellies to show you today, one as a traditional swatch and one as a skittlette inspired by the polish. I did these swatches on different days, and the skittlette I felt turned out better on my right hand. Apparently I am ambidextrous when it comes to nail polish.

I want to discuss formula as they were the same for both. Jindie has some glorious glitters, jellies, and crellies which require some extra patience in applying. Shimmer Me Timbers and Midnight Rainbow both have giant circle glitters which require some fishing and dabbing, worth the effort but you might need a little practice.


Jindie Nails - Shimmer Me Timbers
2 coats basecoat--major stainer, double up on base and paint carefully!
3 coats Shimmer Me Timbers
2 coats KBShimmer Clearly On Top

Shimmer Me Timbers is an emerald green jelly with all sorts of glitter in gold, green, purple, holographic, squares, circles, hexes, and more! I like this a lot, I love greens. There is some VNL but nothing that bothers me.

Application is tricky, I had to do this swatch twice haha. For this swatch I did a thin first coat with no glitter. Then I did another coat with whatever glitters decided to be on the brush. Lastly I did a third coat by fishing and dabbing.

Oops, forgot the watermark! And a little lobster-y here :-/

Jindie Nails - Midnight Rainbow
Index: China Glaze liquid Leather, Image from Nail Craze NC 02 stamped with Sally Hansen Insta-Dri in Silver Sweep
Middle, Ring, & Thumb: China Glaze Liquid Leather, 2 coats Midnight Rainbow, 2 thick coats KBShimmer Clearly On Top
Pinky: Zoya Dahlia, 1 coat topcoat


Midnight Rainbow is a black jelly with rainbow shimmer and holographic circle glitters. I did a first coat with just the shimmery jelly part then dabbed and fished the big circles onto the nail.


I was initially going to stamp with a color, but I think the silver and black really feature the polish much better.


I will have some more Fall Jindies tomorrow! Did you pick any up yet?
Remember to love your cuticles as much as you love your polish :-)

Saturday, October 12, 2013

Different Dimension Fall & Halloween Glitters

Today I've got my picks of the glitter toppers from Different Dimension's Fall and Halloween offerings. These glitters are nothing short of fantastical and packed with so many unique glitters--stars, hearts, moons, dots and more!

Fall 2013: Mystified
Shown over OPI My Very First Knockwurst and Sinful Colors Nirvana


Mystified is made up of caramel, brown, and lavender glitters. This is so girly and gorgeous, I wore it after I was finished swatching. Mystified applied very easily, I used one coat with a little dabbing to fill in on some nails.


Halloween 2013: I Ate His Liver With Some Fava Beans And A Nice Chianti
Shown over Orly Coachella Dweller

Not only does the name completely creep me out, it is so long! In my spread sheet I just refer to it as "IAHLWSFBAANC."


IAHLWSFBAANC is green, purple, and black glitters in pretty much every shape and finish available. My camera is a simple point and shoot so I think it had a hard time focusing on all the different glitters. I applied this one by dabbing a blob onto the middle of my nail and pushing the glitters around where I wanted them, then did a little fishing and dabbing to fill in. It was actually very easy and all the glitters laid well on the nail.


Halloween 2013: Have The Lambs Stopped Screaming?
Shown over Sally Hansen CSM Ressurection


This is another one where the name creeps me out, I refer to it as Lambs hehe. Lambs is described by Different Dimension as a "deconstructed monarch butterfly" which is a perfect description. These glitters are Black, White, and Orange in all different shapes, sizes, and finishes with holographic dust. I used the same application technique for this one as with IAHLWSFBAANC. My lightbox kills holos but you can still see how prevalent the sparkle is. I loved the undies I chose for this, I will for sure be wearing this again!

For more information and to purchase Different Dimension polish, you can visit their etsy shop.

So what do you think? Do you like seeing the glitters over a couple different colors or would you prefer all one color? Or maybe just over black and/or white? Let me know!
Love those cuticles ;-)
 
Blogging tips